Sunday, February 5, 2012

Patriots Cake

In honor of that really big football game that happens every year (Superbowl?), I've decided to make a cake!  It's my first bake of 2012 and one of my first bakes for the blog in a really long time... so, it's nice to be back!  To start off, I'm baking two nine inch rounds (you can use whatever size depending on how big you want the cake), with a cake mix from Make it Sweet (formerly: All in One Bake Shop).  They've make a cake mix that is super easy to work with and is dense enough to make shapes.


Then, I grabbed a picture online of the Patriot's logo, stretched it out on a document, and printed.  I'm going to use it as a stencil for the cake because it's a pretty simple design.  The cake I'm making in tiny (because I just can't afford to pack on the pounds people!  I've got a wedding this year!).  BUT if you're dying for a super mega large cake, you can print the image from your home printer in sections using programs like PosteRazor - and make a mega stencil... much like I did for X's grooms cake.  

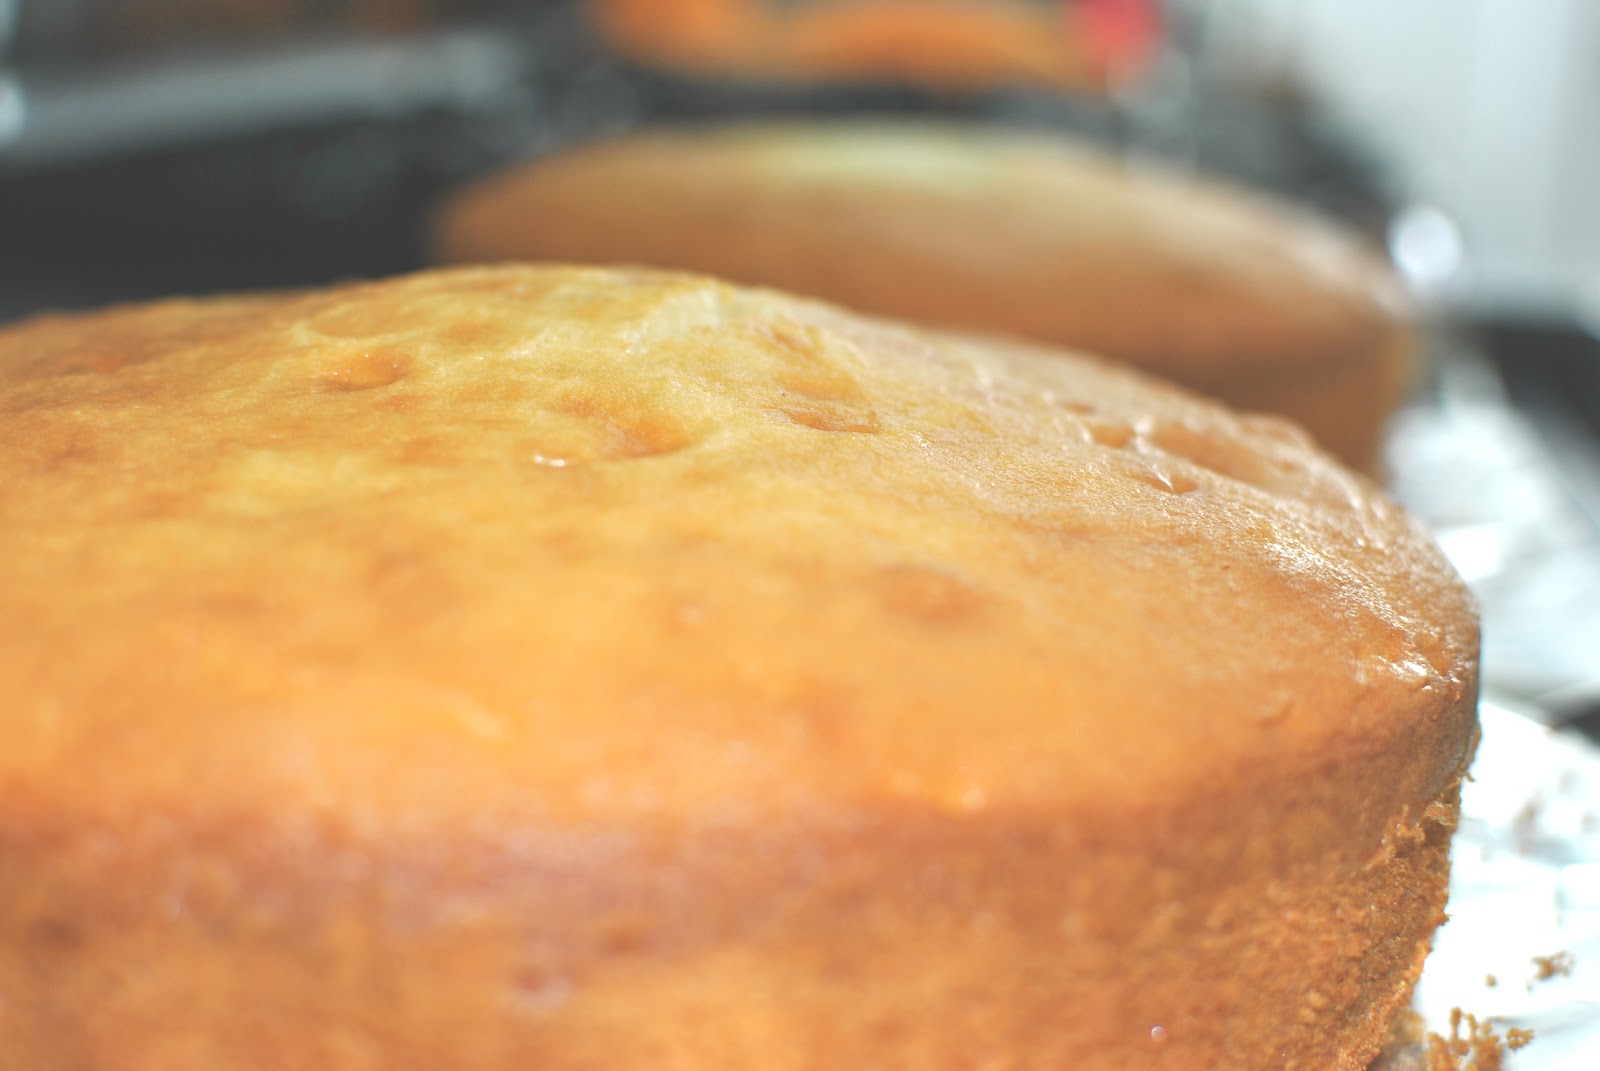
After leveling the cakes, slapping some icing in between, the cutting the cake into the shape of a Patriot's man logo thingie, icing the entire cake, I put in the freezer to set (maybe 1 hour?  This is NOT a science, just check back every once in a while to see if it's frozen).  This is going to make it easier to have a smooth finish on the fondant (you'll see this later).


Right before you take your cake out of the freezer, roll out enough fondant about 1/4" thick, so you can cover the entire cake.  Take the cake out of the freezer.  Smooth over the "sharp" edges with your hand, and slap another layer of buttercream, and then put the fondant on top of that (trim and smooth it out).


I'm literally going to paint on the Patriot's logo with food coloring and some fondant fairy dust.   I have to mix either lemon juice or vodka with the fondant fairy dust, but not for the food coloring.  I just just the food coloring like paint.  Remember that stencil you made earlier?  Now's the time to use it.  I personally like to work on the outermost part of the stencil and work my way into the image.... just pick the one that makes you feel most comfortable.


Voila! 

Wednesday, January 25, 2012

No more hibernating...

So, due to recent circumstances, I am now able to come back to baking and create some fantastical culinary masterpieces! (OR royally fail) BUT, nonetheless, my first comeback will be to make a Superbowl cake.  I don't even watch football, but I thought it would be fun to do.  This weekend.  So, little childrens, bite your fingernails and sit in anticipation as the next blogpost will be my return to baking.  *tear*

Sunday, August 28, 2011

Nutella! Puff Pastries

While browsing the internet the other day I found this awesome recipe for Nutella & marshmallow puff pastries.  So, I had to try it.

The end result!

First, you need the ingredients:
1. Small marshmallows
2. Nutella
3. Puff Pastry (this can be found in the frozen section... apparently on the bottom shelf *grrr*)
4. 1 egg
5. Water

The ingredients.
Cut each sheet of puff pastry into four squares (cutting off any extra dry parts) and spread a nice serving (2 tablespoons) of Nutella and about 10-12 marshmallows (I accidentally only put 6 in each, but it turned out just fine!)...


Fold the pastry over and seal the sides by smooshing it with a fork whose prongs have been dipped in water (and I forgot to use the water to do this... pastries are sticky).  Brush the pastries with an egg wash (1 egg+ some water).  Stick it in the oven at 350 F for about 20-25 minutes (golden).
In the oven!

All done.
Fill up a glass of milk and enjoy!  You really can't go wrong with Nutella... it pretty much always tastes good.


Sunday, August 21, 2011

The French Flag

My friend Beth had a bridal luncheon recently, and I had the honor of making the cake!  She's going to be living in France for a while, so we all thought it would be fun to incorporate something French-ish.  So, I thought, it would be really fun to make each slice look like a French flag!  (Believe me I was happy she wasn't living somewhere like South Korea... where the flag would be a lot harder to put in a cake cross-section.)


What you need:
1. Three boxes of white cake mix
2. Three circle stencils for a 9" round (like in the checkered cake blog)
3. Red and blue coloring
4. White frosting, sprinkles, and gum drops for decoration


First, bake six 9" cake rounds: 2 blue, 2 red, and 2 white.  Then, let them cool off.


Using the circle stencils cut all 6 cake rounds, and put the colors in the order of the French flag (blue on the inside, white in the middle, and red for the outside circle).
This is what it will look like when the circles are all put together.  (You can use the extra cake for cake balls, cake shakes, or another really colorful layered cake!)
Wrap very well and freeze.
Quick tip: To keep the cake circles from falling apart when they are cut into slices, spray the separate pieces on the sides that will touch cake with sugar water before putting the pieces together and freezing.

I wanted to have a cute and simple cake decoration, so, I decided to put gumdrop roses on top.  First, you have to get gumdrops (I used the white ones).

Sprinkle sugar on your rolling surface, then use a rolling pin to flatten the gumdrop.

Cut off the rugged edges (if you desire).

Then roll (and shape some) them into little roses.  Set aside for when you're ready to decorate the cake.
If you use the store bought frosting, you're gonna want to freeze that cake when you're done, just to set it.  It's probably better to use home-made buttercream or stock frosting from your local bake shop.


Monday, June 20, 2011

Two Birthdays and a Father's Day

For my mom and brother's birthday, and father's day,I wanted to make a cake, but I wanted it to be super awesome.  The first thing that came to mind was a vertical stripes cake (because horizontal is borinnnggg...).  I was searching online for the best way to do it, and I remembered that my brother's girlfriend knew about this awesome blog called: i am baker. You must check her out because she makes some of the most awesome cakes ever.

SO, in one of her blogs she made a vertical stripe cake, which I thought was totally awesome, but I would have had to make four 9" cake rounds, and I don't want to do that.  Instead, I baked one chocolate round and one white cake round (using handy-dandy cake mix from my fave: All In One Bake Shop).  The cake mix I used produces a heavier cake - something easier to manipulate than heavenly fluffy boxed cakes. mmmMMMmmm.

1. Bake cake.  They must be different colors for this to work (chocolate and white cake, for example).
Black and yellow (black and yellow, black and yellow, black and yellow).
2. Level those cakes!


3. Use your handy dandy stencils to cut out circles, and then switch out every other layer:
Handy dandy stencils (the pink circles) and my highly scientific way of measuring them out.
Cake circles cut out (with a knife...).  Then switch out every other layer. 

4. Stack the two cakes, lovingly wrap up in plastic wrap and place in the freezer.  NOTE: if you want the layers to stick together you must lightly mist the cake layers with some sugar water and then freeze.  That way they will freeze together, and when they thaw out together, they will stick together (isn't that sweet?).  Your cake will not be soggy, it will be moist and soft.  Generally, if you freeze a cake right after baking it (like, for a day), it will be softer after you unfreeze it (this is good!). 

5.  Cover in frosting and decorate to your heart's content.


6. Then cut it open and bask in the glory.  (*sound of angels*) Phew.  I'm really glad it worked!

Monday, June 6, 2011

Grown Up Mac & Cheese

There a few foods that fall into my "Favorite" category.

1. Pizza
2. Pizza
3. Mac & Cheese

I know... I'm really sophisticated.  I've had some really good pizza and some really bad pizza (some of which was not made by me).  I've had some really awesome mac & cheese and some not so awesome mac & cheese.  I feel like I'm rambling.  What I'm really trying to say is that most of the mac & cheese I've eaten has been the product of a strange orange powder and thin elbow pasta... the kind that cook within a few minutes.  I graduated to wheat mac & cheese and thought this was an upgrade... another step closer to adulthood.  Well.   Tonight.  I'm an adult. *eek* I've made a grown up version of mac & cheese - thanks to Alton Brown!

http://www.foodnetwork.com/recipes/alton-brown/baked-macaroni-and-cheese-recipe/index.html

I chose his recipe because it was the first recipe to show up on my google search when I searched mac & cheese.  It's pretty good.  I'm just happy that it came out of the oven tasting like mac & cheese.  I'm also happy that I have dinner and lunch for the remainder of the week planned out. yum.

First, go to the grocery store and by all these dang ingredients (it's what responsible adults do, geeze).

1/2 pound elbow macaroni
3 tablespoons butter (I used salted)
1 tablespoon powdered mustard
3 cups milk (I used 2%)
1/2 cup yellow onion, finely diced (I bought the smallest one)
1 bay leaf
1/2 teaspoon paprika
1 large egg (I'm pretty sure my egg was medium sized)
12 ounces sharp cheddar, shredded
1 teaspoon kosher salt (Uhm, how about table salt?  I think this actually could have made a difference... please just use kosher salt.)
Fresh Black pepper (seems like the pre-made stuff will do!)

1. Boil ze pasta, until al dente:


2. Melt butter in saucepan, add flour and mustard powder until there are no lumps... for about 5 min.


3.  Add the milk, paprika, bay leaf, onion - let simmer for 10 minutes.


4. Temper the egg by slowly adding small amounts of the hot concoction in #3 until it's warmed up enough to be totally added into the above mixture without curdling and making your mac & cheese, scrambled eggs.  (Yay!  Now we all know what tempering is.)


5. Mix in about 3/4's of the cheddar cheese then add the macaroni to it:


6. Put into a casserole dish and bake at 350F for 30 minutes... and put breadcrumbs on top of it if you really want to. Alton Brown suggested that I saute some panko with butter then put it on top of the mac & cheese to bake... but that was too much work and I didn't find any panko crumbs at the grocery store...  So, instead I just sprinkled breadcrumbs on top of this.


7.  I get a coronary just looking at it.  Yum!  Good news:  I still feel like a kid.

Monday, May 30, 2011

Orange and Chocolate Cookies


Stunning low quality photo of said cookies.  (I promise to try and focus next time.)

Now, this isn't completely my recipe, it's really Martha Stewart's - but to be honest, I made her recipe ridiculously awesome.  (Er, thanks Martha!)

This recipe also calls for a cookie press (thanks Martha!)  - which is basically a handheld device that looks like a caulking gun, except you fill it with cookie goodness.

3.5 cups all-purpose flour
1 teaspoon salt
1 teaspoon ground cinnamon
3 sticks unsalted butter, room temperature
1 cup sugar
2 large egg yolks
1 teaspoon vanilla extract
The magic ingredient: zest of one orange (*heavens open*)
Lots of chocolate (the higher the cocoa butter content the happier you will be eating the cookie... I also recommend milk chocolate)

1. Wisk flour, salt, and cinnamon
2. Beat butter and sugar til fluffy
3. Add yolks one at a time, mixing thoroughly, then doing the same with vanilla
4. Somewhere between 2 and 4 put the orange zest in
5. Stamp out some cookies
6. 350F until the edges *just* brown
7. Let cool
8. Melt chocolate in a double broiler til liquid-y and cover in chocolate any way you want (I just dolloped some on there)
9. Freeze to get the chocolate solid again
10. Yum. Nom.