Thursday, September 16, 2010

Sprinkles Cupcakes with Sprinkles Frosting

A few weeks ago I attempted Sprinkle's strawberry cupcakes - and I decided to make them again! Except this time I wanted to stay true to miss Sprinkle's cupcakes and I also used her recipe for strawberry frosting. yum.

So, I was in the kitchen just whipping away and I go to the refrigerator to grab some milk for the recipe, and sure enough I didn't have any milk. I had JUST gone to the grocery store to get some frozen strawberries. There was no way I was going back. So, instead I used some buttermilk that I had in the fridge. I always taste what I make before giving it to anybody else (just in case I keel over), so I did the same with this recipe - and it tasted just fine! It didn't taste any different to me - maybe a little softer. Oh! Also, last time I had used

So, for the frosting:

1/2 cup whole frozen strawberries, thawed
1 cup (2 sticks) unsalted butter, firm and slightly cold
Pinch of coarse salt (Kosher salt)
3 1/2 cups confectioners' sugar, sifted (I didn't sift it)
1/2 teaspoon pure vanilla extract


I fluffed the butter and the salt together, then slowly added the sugar. The last step was to add the vanilla and put in 3 tablespoons of pureed strawberries. Except, I put in 4 tablespoons of strawberries.

It's really strawberry-ey! I'll put more frosting on them next time.

Tuesday, September 14, 2010

Orange Dream: In a Cake.

Before work yesterday, I wanted a different kind of breakfast. Something with oranges. Like orange cake.


So, I juiced 3 oranges and started making this orange cake from cooks.com.

1 cup sugar
1 whole egg
2 egg yolks
1/2 cup vegetable or peanut oil
1 3/4 cups cake flour
2 teaspoons baking powder
1 teaspoon salt
3/4 cup orange juice
1 teaspoon grated orange rind (seen below!)


1. Mix ingredients in the order given.

2. Bake at 350 until toothpick comes out clean! (This took about 15 minutes in my oven to make a very very well done cake... I should have taken it out earlier.)


We all know I like an easy recipe. This one is really simple... and gooooooddddd. It has a citrus-ey taste, so citrus-ey that some people couldn't tell if it was lemon or orange. Good news is - the dress was a total hit! When I took the extra to work, they ate it up within the hour!

Don't worry. I'll make more...

Oh! The frosting - it's an afterthought really. I used a "buttercream" recipe from www.cdkitchen.com:

1/4 cup shortening
2 cups powdered sugar
1 dash of salt
3 tablespoons milk, cream or water
1/4 teaspoon vanilla
3 drops butter flavoring (I didn't use this because I didn't have any at home on hand.)

1. Mix all together in electric mixer - let sit for a little - then spread on cooled cakes.


I think the frosting was a little tooooo sweet. This could be due to the 2 cups of powdered sugar... and not much else. I like the use of shortening though. It gives it a really smooth consistency - something that real buttercream frosting hasn't given me yet.

Yum!

The finished product!

Sunday, September 12, 2010

Jessica's Birthday Cake!

One of my very best most beautiful friends (Jessica) just turned 26 and we decided to celebrate her birthday by hanging out at Mozarts and going back to my place to make her a delicious birthday cake!

My lovely friend:


We decided to use the Best Chocolate Cake Ever recipe, but instead of using all-purpose flour, we went crazy and used the finer cake flour! Wild!


The result was a very bouncy cake - something that Bill Cosby would be proud to use in his Jello commercials. The cake also had a little dip in it where the cake collapsed - I'm thinking this is also due to using cake flour.


I ended up trying a new frosting recipe for this cake too - it's a delicious chocolate frosting from Hershey's:

1/2 cup (1 stick) butter or margarine
2/3 cup HERSHEY'S Cocoa
3 cups powdered sugar
1/3 cup milk
1 teaspoon vanilla extract


Their directions:
1. Melt butter (did this is the microwave for about 30-45 seconds).

2. Stir in cocoa (I didn't use special dark chocolate cocoa- just the regular stuff).

3. Alternately add powdered sugar and milk, beating to spreading consistency (this was a little difficult because of the small amount of milk that was called for). Add small amount additional milk, if needed (didn't need to do that).

4. Stir in vanilla (I don't remember doing this step...).

We covered it in marbled-ish purple fondant with little white hearts.

Making fondant purple:


Little white hearts cut out with my exacto:


Paste the hearts on the cake:


Take out a slice (or three):


HAPPY BIRTHDAY!

Friday, September 10, 2010

Dogs Deserve Cakes Too

It would be really unfair of me to just make cakes for humans and ignore all the other species who could love cakes. It's a different kind of bake, but it's still just as fun to make as human cakes. My first subject: Arali's dog - Zoey. Zoey's a pint sized girl who's the princess of the family. So, I thought she deserved only the best of dog cakes (and the only one I thought I could tackle at the moment).

A hypothetical dog that deserves a cake shown below:


I did what I did best and googled for a recipe for a dog cake. I stumbled upon this: http://www.dog-treat-recipe-exchange.com/dog_birthday_cake_recipes.html#PBDelight. How perfect!? A peanut butter delight doggie cake with cinnamon cream cheese frosting. yum.

Then I bought these:

1 cup white or whole wheat flour
1 tsp baking soda
1/4 cup peanut butter
1/4 cup vegetable oil
1 cup shredded carrots
1 tsp vanilla
1/3 cup honey
1 egg

Then I did this:

1. Shredded one large carrot - because that equals 1 cup of shredded carrots conveniently enough.

2. Mixed the flour and baking soda together - this resulted in a flat thick cake. ****Then the second layer I made, I accidentally used baking powder (which is safe for dogs like baking soda in these small amounts), and it resulted in a fluffier more appealing cake. So, I threw the first layer away and made another layer so that both layers could be nice a fluffy.*****


3. Then mixed in all the remaining ingredients, put into a 9" pan and then put it into the oven at 350F for 20 minutes (until inserted toothpick comes out clean).

4. Cooled it down on a rack and then cut out a doggie bone shape with a template I made from scrap paper.


Beautifying Process:

Cinnamon Frosting (from the same website):

12 ounces nonfat cream cheese (room temperature) - mine must have not been room temp enough because it was really hard to work with.
3 tsp cinnamon
1 tsp vanilla
1 tsp honey


1. I started spreading the frosting all over the dog cake. It wasn't easy. The process was finally made easier when I decided to dip my spatula in water and then spread the cream cheese. This resulted in a very smooth looking spread (pretty!).

2. I put it in the refrigerator so I could finish decorating in the morning before I took it to Arali. I didn't know that the Grand Canyon of all cracks would form on my dog cake. I guess the environment in the refrigerator was too dry and the cream cheese cracked. Also, I must have spread it too thin. Sadness shown below:


3. I corrected the cracks with the leftover cream cheese (that I saved - thank goodness!).


4. Continued decorating with Newman's Own heart shaped doggie treats and some burgandy colored cream cheese to write Zoey's name and add some decorative dots on the bone.


Voila!

Wednesday, September 8, 2010

A different bake: Cornbread

It was really wet and just raining a TON yesterday (I think that's an understatement). So, what better day to make cornbread and chili! I haven't done this in a while, but here's the just of it.

I made chili in a pot:


Then I used Alton Brown's Creamed Corn Cornbread recipe:
* 2 cups yellow cornmeal
* 1 teaspoon kosher salt
* 1 tablespoon sugar
* 2 teaspoons baking powder
* 1/2 teaspoon baking soda
* 1 cup buttermilk
* 2 eggs
* 1 cup creamed corn
* 2 tablespoons canola oil (I used vegetable oil)

I had to stop by Randall's to get some of the ingredients... sadly at this visit I learned they were closing down on my side of town. Must not get enough business. *sad face*

1. I put dry ingredients together and mixed.

2. Then I mixed all my wet ingredients together.

3. Then I slowly added my wet into they dry ingredients.

4. Alton wanted me to use a heavy duty iron pan for this... which I don't have. So I used one of my cake pans and followed his directions. I put my pan in the oven to heat up before I used it. Before I poured my batter into the very hot hot pan I covered it in veggie oil.

5. Baked at 425F for 20 minutes to yield a completely cooked cornbread!


It wasn't as sweet as I hoped it would be, but it was a nice consistency - not dry, not super fluffy, and not super salty. AND it tasted good with the chili. Yum. We ate all the chili, no I have to figure out what to do with the rest of the cornbread...

Millions of Cupcakes!

I don't like to discriminate. If I make a 9 inch cake, I should be able to make 3 inch cakes... my little cupcakes! My first challenge - how am I going to make about 50 cupcakes? Well, thank goodness! - my friend at work (Monique) needs a birthday cake for her son (Steven), and was hoping it could be two light sabers crossing over each other. What better use for cupcakes?!?!


(See! Look how cute they are all pink and such.)

So, I decided that I should try out chocolate, strawberry, and orange cupcakes (thus millions of cupcakes).

FIRST:

Chocolate Cupcakes:
http://www.cupcakerecipes.com
• 2 cups all purpose flour
• 2 cups sugar
• 1/2 teaspoon baking powder
• 1 teaspoon salt
• 1 teaspoon baking soda
• 1/2 cup shortening (Crisco shortening.)
• 3/4 cup water
• 2 large eggs
• 3/4 cup milk (I used 2% milk.)
• 1 teaspoon vanilla
• 4 ounces melted unsweetened baking chocolate (I bought baking chocolate that had the ounces measured out into squares. The instructions said to microwave the squares until they melted - and none of them burned! - which was my main concern.)

1. I preheated the oven to 350 degrees and line cupcake pans with little paper liners (white ones).

2. I combined all ingredients into my electric mixing bowl and turned it on! This was really easy. The only part that worried me during this step is that the Crisco broke up into little pieces. When I stopped the mixer to take a look at this, the Crisco bits all floated to the top! Which I thought was a complete disaster. Then I turned the electric mixer to high for it to mix and everything turned out fine. phew!)

3. I filled the liners 1/2 to 2/3 full of batter and baked 20 minutes in my gas oven, and actually used a wooden toothpick to determine if it was fully baked. (Fully baked = insert toothpick and it comes out clean)

These chocolate cupcakes were pretty good! They tasted like chocolate and they were pretty soft. I'm more of a dark chocolate cake person, but these seemingly milk chocolate cupcakes were pretty good.


SECOND:

Orange Cupcakes:
http://www.cupcakerecipes.com/
• 1 3/4 cup cake flour
• 1 cup sugar
• 1/2 teaspoons salt
• 2 1/2 teaspoons baking powder
• 2 large eggs, separated and whites beaten until stiff (I did this first, so they were sitting around for about 10 minutes before I folded them in. They seemed to have separated a little while waiting, so next time I will probably whip them right before I need to use them.)
• 1 teaspoon vanilla extract
• 1/2 cup orange juice (I think I used Simply?)
• 1 stick of butter, softened (unsalted)

1. I combined butter, sugar, egg yolks, and vanilla in a mixing bowl and creamed them on a low setting.

2. I mixed flour, salt, and baking powder together in a separate bowl. Then added the dry ingredients to creamed ingredients 1/3 at a time alternating with adding portions of the orange juice to the creamed mixture. (It started smelling really orange-y at this point - very promising!)

3. Folded in beaten egg whites at this point, and it looked pretty fluffy!

4. Spooned batter into cupcake liners until 1/2 full and bake at 350F for 15 minutes. (When they baked up they were at the perfect cupcake height! - puffed up right above the liners.)

These orange cupcakes just didn't cut it for me! They taste like vanilla cupcakes with an orange aftertaste. I really like cupcakes that kind of shout their flavor, so I'm still in search of the best recipe for orange cupcakes. On the upside, they were very soft and pleasant to eat. But still...


THIRD:

Sprinkles Cupcakes' Strawberry Cupcakes:
http://www.oprah.com/food/Sprinkles-Cupcakes-Strawberry-Cupcakes
• 2/3 cup fresh or frozen whole strawberries (thawed if frozen) - I used fresh strawberries pureed in my food processor.
• 1 1/2 cups all-purpose flour , sifted (I didn't sift my flour)
• 1 tsp. baking powder
• 1/4 tsp. coarse salt (I used sea salt - not the best idea. Next time I'll be trying Kosher salt. The sea salt left large chunks of salt surprises waiting to be crunched on... eek!)
• 1/4 cup whole milk , room temperature (I used 2% refrigerator temperature)
• 1 tsp. pure vanilla extract
• 1/2 cup (1 stick) unsalted butter , room temperature
• 1 cup sugar
• 1 large egg , room temperature (I used refrigerator temp)
• 2 large egg whites , room temperature (Again, refrigerator temp - I'm really impatient sometimes.)


1. Pureed my strawberries to receive about 1/3 cup of puree.

2. Whisked together flour, baking powder and salt. In a different bowl, I mixed together milk, vanilla and strawberry puree.

3. In my electric mixed I creamed butter on medium-high speed, until light and fluffy. Then slowly added sugar and beat until fluffy. I reduced the mixer speed and slowly added egg and egg whites until just blended.

3. Then I put the mixer on low, and slowly added half the flour mixture until just blended. Then added the milk mixture until just blended. Then slowly added remaining flour mixture, scraping down sides of the bowl with a spatula until just blended.

4. As a tip from Sprinkles Cupcakes, I used a ice cream scooper to measure out the amount of batter for each cupcake spot so that the cupcakes would all be even (great idea!). Then I baked at 350F for about 17-22 minutes.

These cupcakes were wonderfully strawberry-ey! The only drawback to them was that the salt I used was sea salt... and even though the recipe called for a coarse salt, they didn't mean sea salt - because I'm sure Sprinkles doesn't want anybody getting a huge chunk of salt in their cupcake bite. I'm sure Sprinkles meant Kosher salt! That's what I'll try next time. Other than the salt, they were fruity and soft. Great combo for a cupcake.


This is all the naked little cupcakes just waiting to be frosted! Which is just was I did ...

Who doesn't like Fluffy White Frosting? The answer is nobody. Everybody loves fluffy white frosting. This is how I made it:

• 1 cup white sugar
• 1/3 cup water
• 1/4 teaspoon cream of tartar
• 2 egg whites
• 1 teaspoon vanilla extract

1. I put the egg whites and vanilla extract in my mixer and started to whip.

2. Combined the sugar, water and tartar together on the stovetop and mixed until completely dissolved.

3. When the whites started developing soft peaks I added the warmish/hot sugar mixture until completely blended.

4. Had frosting time! (As seen below)


Now we're almost done making a Star Wars themed cupcake cake.

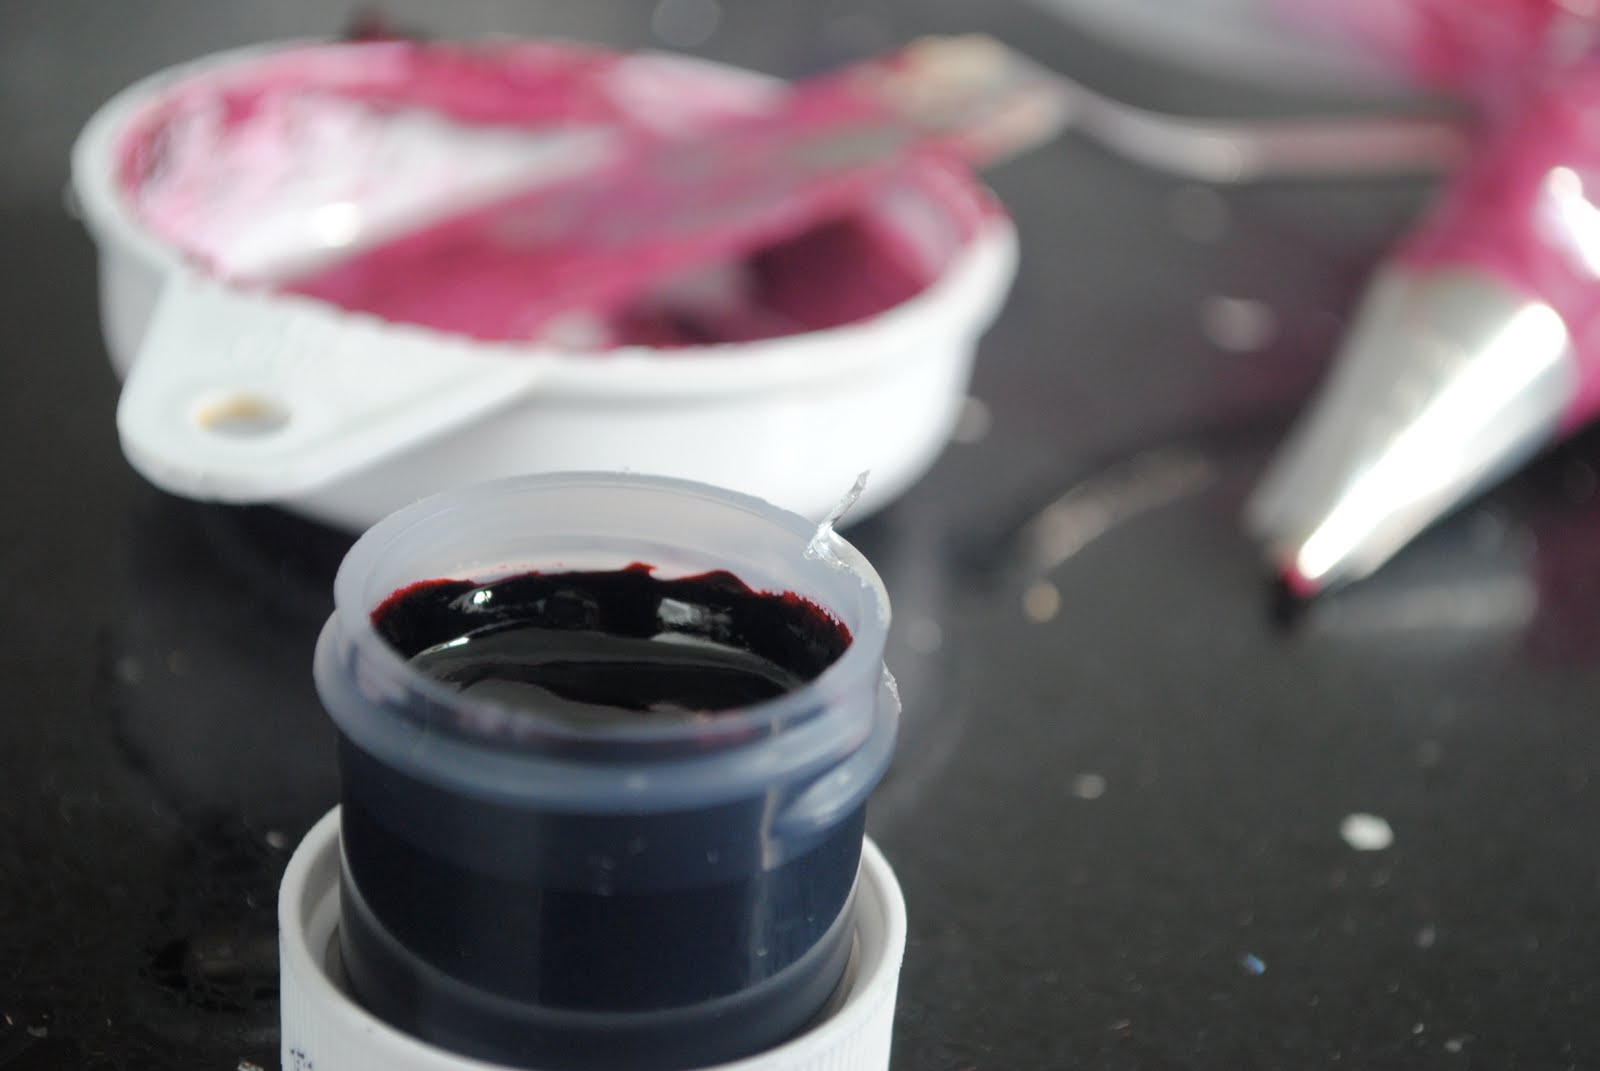
I colored the frosting like so:


I didn't get the color I wanted - which was the serious dark blue saber and the serious red saber... instead they're a happy bright pink and a cheery blue! Pretty! Despite the color I frosted all the cupcakes for a great test run! Here's the final result!


As you can see not all of them are frosted in the picture - I tried making some grey-ish and black-ish frosting and it wasn't as pretty. So you don't get to see that. Just the pretty happy cupcakes. But it was easy making the ugly colored frosting. I just put black in the blue until I got the darker color. Okayyyy here's the final final picture:


Happy now?

S'mores Cake was a hit!


I made the s'mores birthday cake for Beth's Dad and it was a hit! (Picture above of it all snuggled up in Saran wrap.)